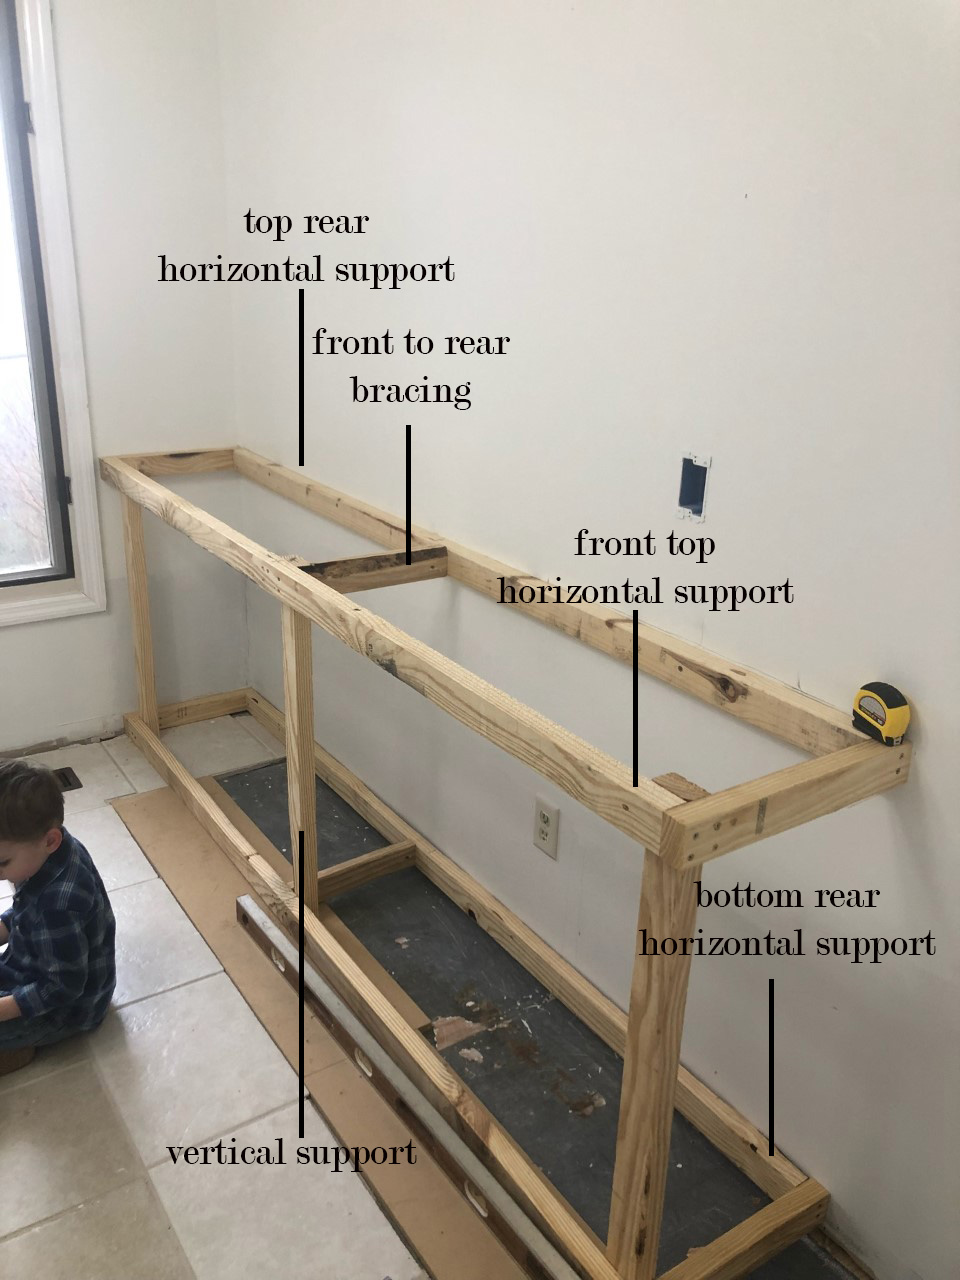
For firearms owners, a secure and aesthetically pleasing gun cabinet is paramount. It serves not only to safeguard valuable firearms but also to integrate them seamlessly into the home decor. Building a custom wooden gun cabinet allows for personalized design and functionality, ensuring a piece that reflects your individual style and needs.
This guide will provide a comprehensive walkthrough on crafting a simple yet elegant gun cabinet, focusing on practical steps and design considerations for a successful DIY project.
1. Planning the Design and Choosing Materials:
A. Determining the Scope:
Size and Configuration: Begin by measuring the space where the cabinet will be placed and determine the desired dimensions. Consider the number and size of firearms to be stored, alongside any additional accessories.
Style and Design: Choose a style that complements your existing furniture. Opt for simple lines and classic designs for a timeless appeal.
B. Selecting Materials:
Wood: For durability and longevity, hardwoods like oak, maple, or walnut are ideal. Softwoods like pine can be used for a rustic aesthetic, but they might require additional reinforcement.
Hardware: Choose sturdy hinges, locks, and drawer slides for secure operation. Explore options like magnetic catches for doors, which can be easily opened and closed while ensuring a secure fit.
Finishing Touches: Select a stain or paint that complements your chosen wood and complements your home décor. Consider adding decorative accents like molding or trim for a touch of sophistication.
2. Building the Cabinet Carcass:
A. Cutting the Wood:
Prepare the lumber: Measure and cut the wood for the cabinet sides, top, bottom, and shelves using a saw. Ensure accurate cuts for a well-fitted cabinet.
Jointing the Wood: To create smooth and flush surfaces for a clean look, joint the edges of the lumber. This ensures that the cabinet panels fit together seamlessly.
B. Assembling the Cabinet Sides:
Pocket Hole Joinery: Utilize a pocket hole jig to create hidden jointing in the cabinet sides. This technique provides sturdy connections while maintaining a clean aesthetic.
Glue and Fasteners: Apply wood glue to the joints and secure them with screws for strong and durable bonds.
C. Building the Cabinet Top and Bottom:
Creating a Sturdy Base: Attach the bottom panels to the cabinet sides using pocket hole joinery, glue, and screws.
Securing the Top Panel: Attach the top panel using the same method. Ensure that the top panel is flush with the cabinet sides for a clean and professional look.
3. Integrating Doors and Shelves:
A. Installing the Doors:
Cutting and Fitting: Cut the door panels to the desired size. Make sure the door frame is slightly smaller than the cabinet opening to ensure a flush fit.
Hinge Installation: Attach the hinges to the door panels and cabinet sides, ensuring the doors open and close smoothly.
B. Constructing and Installing Shelves:
Shelf Dimensions: Determine the desired shelf height and depth based on the size of the firearms and accessories.
Shelf Installation: Create shelf supports on the cabinet sides and install the shelves. For extra support, consider adding shelf pins or brackets.
4. Implementing Security Features:
A. Lock Selection:
Security Level: Choose a lock that provides the desired level of security. Consider features like deadbolts, keyhole covers, or reinforced locking plates.
Lock Installation: Install the lock securely on the door, ensuring a snug fit and smooth operation.
B. Additional Security Measures:
Cabinet Anchoring: Securely attach the cabinet to the wall or floor using heavy-duty anchors.
Alarm System: Consider integrating an alarm system with the cabinet for extra security.
5. Finishing the Gun Cabinet:
A. Sanding and Finishing:
Smooth Surface: Carefully sand the cabinet to achieve a smooth and consistent surface. Remove any rough edges or imperfections.
Staining or Painting: Apply the chosen stain or paint according to the manufacturer's instructions. Multiple coats may be required for optimal coverage.
B. Adding Decorative Accents:
Molding and Trim: Install molding or trim around the cabinet doors and edges to enhance the aesthetic appeal.
Hardware: Choose decorative hardware like hinges, knobs, and pulls that complement the overall design.
6. Completing the Gun Cabinet:
A. Interior Organization:
Shelf Liner: Line the shelves with non-slip material to prevent firearms from sliding.
Storage Solutions: Utilize dividers, trays, or other storage solutions to organize firearms and accessories efficiently.
B. Cleaning and Maintenance:
Regular Cleaning: Dust the cabinet regularly to maintain its appearance and protect the finish.
Lock Lubrication: Lubricate the lock periodically to ensure smooth operation.
Conclusion:
Building a DIY wooden gun cabinet offers a rewarding experience, allowing you to create a custom piece that meets your specific needs and enhances your home décor. By following this comprehensive guide, you can craft a simple yet elegant gun cabinet that provides both security and functionality, safeguarding your firearms while seamlessly integrating into your home. Remember to prioritize safety and quality throughout the project, selecting durable materials and implementing secure features to ensure the protection of your valuable firearms.


