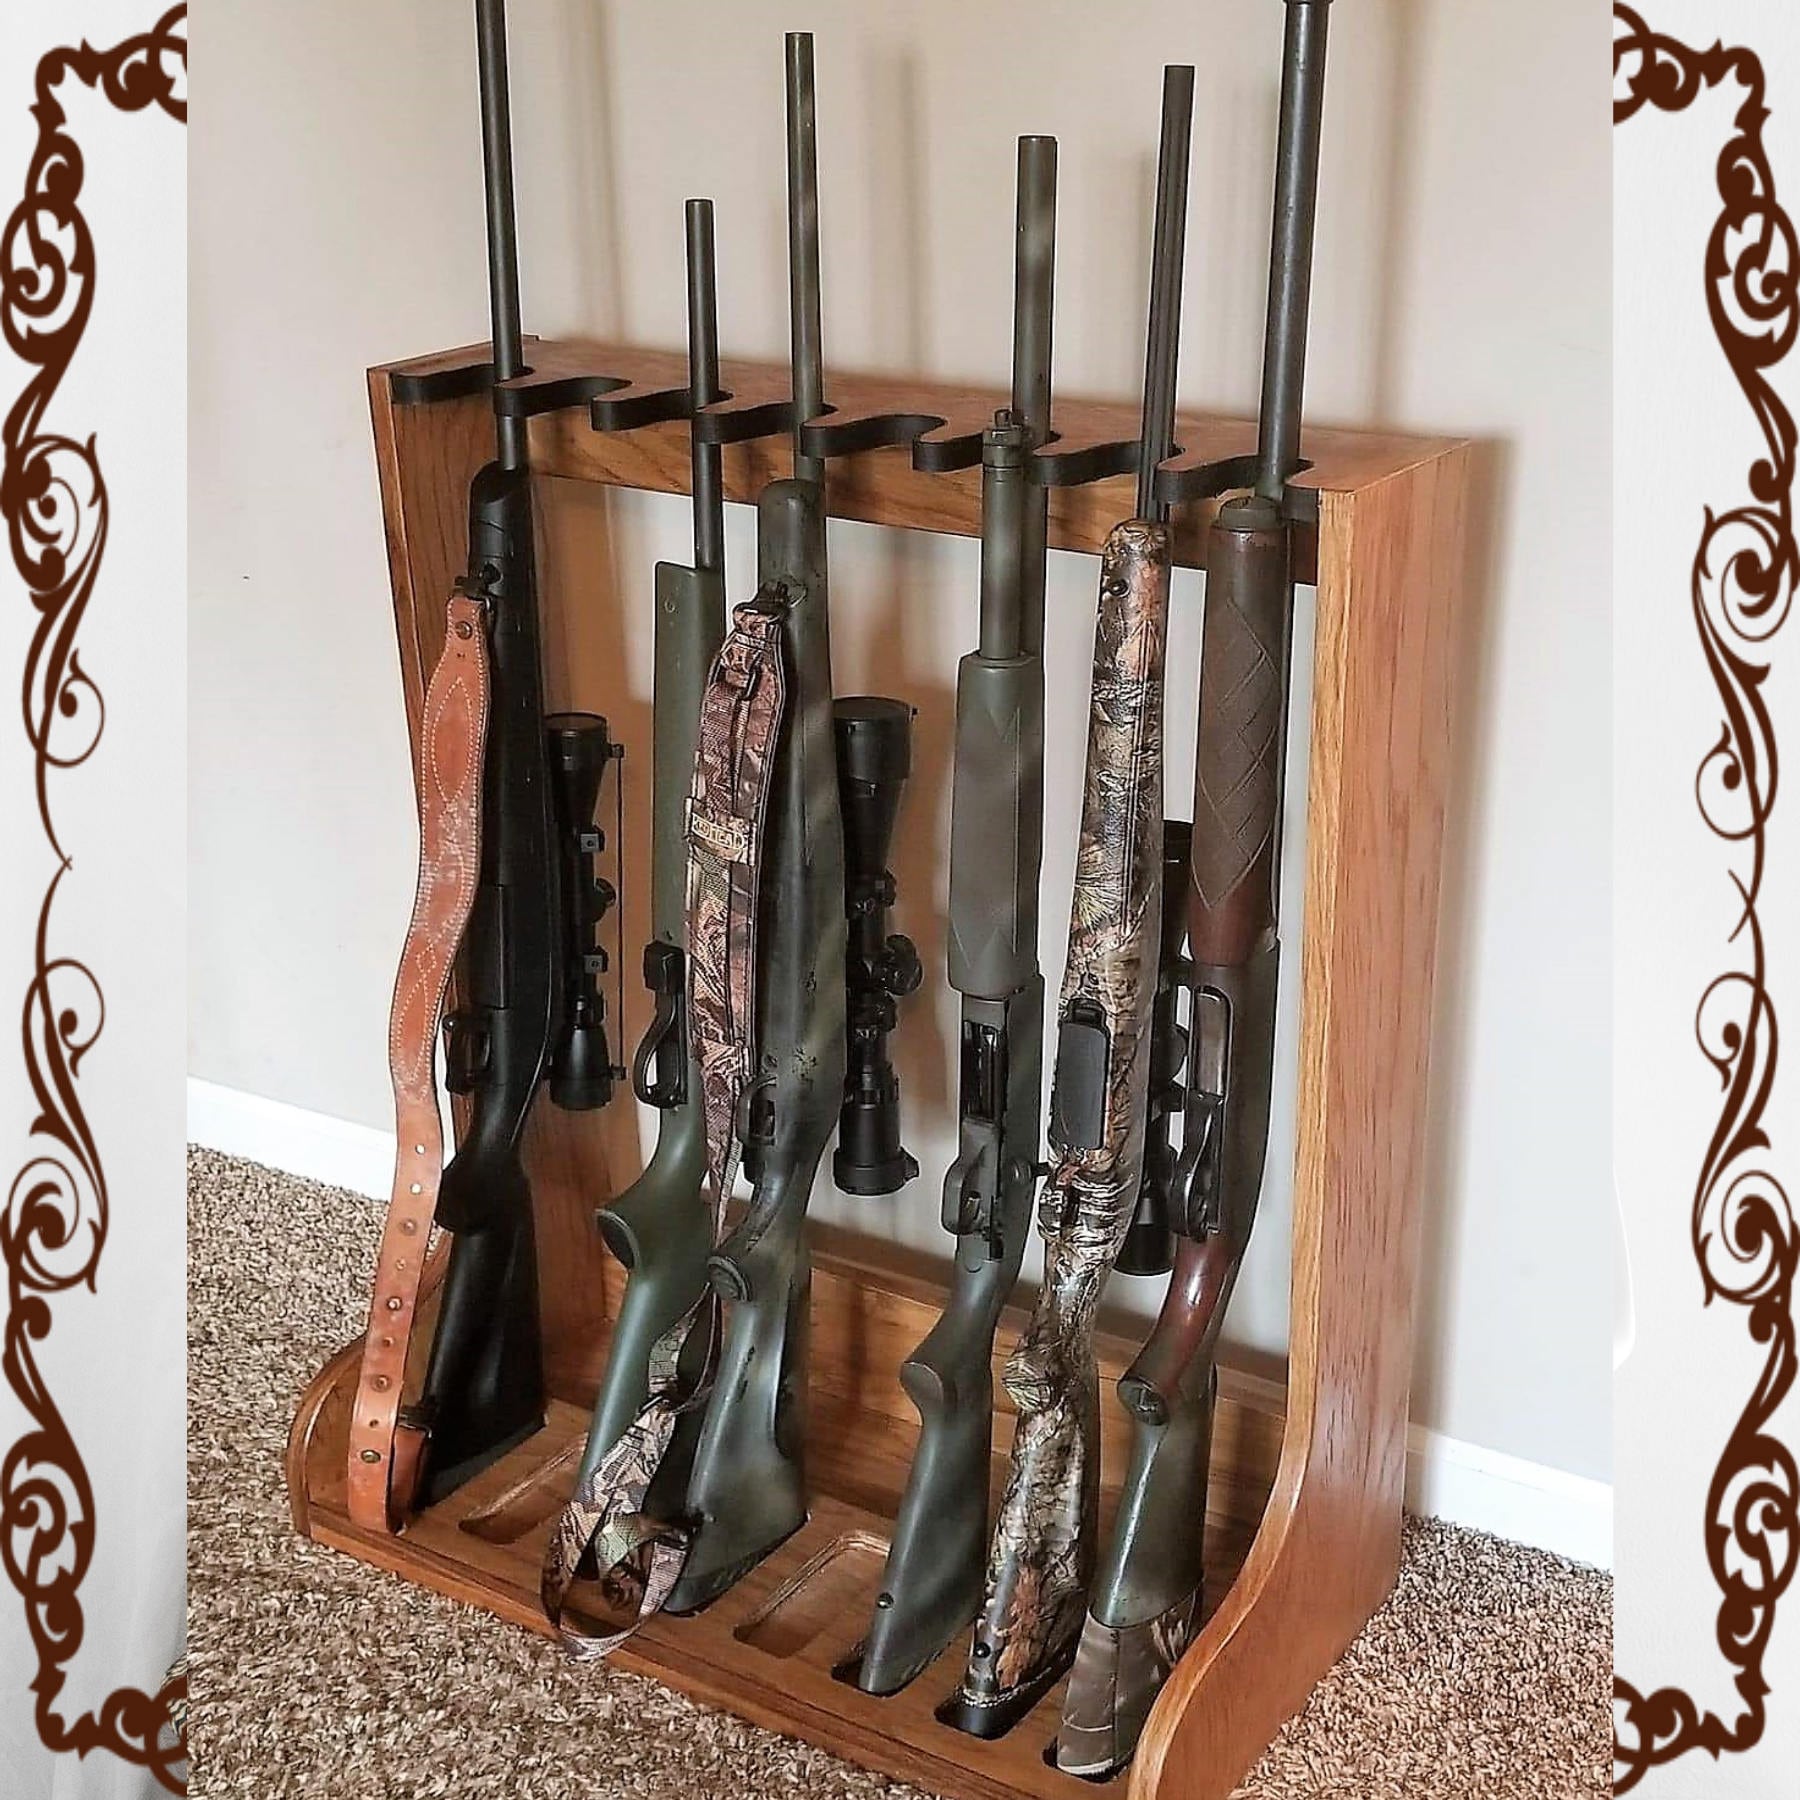
For firearm owners seeking both secure storage and a personalized touch, building a custom-fit wooden gun cabinet offers unparalleled satisfaction. This project, while requiring time and skill, presents a rewarding journey into woodworking and a demonstrably secure solution for your firearms.
This comprehensive guide outlines the process of crafting a bespoke wooden gun cabinet, from initial planning to final finishing touches.
I. Planning and Design
A. Defining Requirements:
1. Size and Capacity: Determine the number of firearms and associated accessories to be stored, considering dimensions for rifles, handguns, and other equipment. Ensure adequate space for safe and organized storage.
2. Location and Accessibility: Plan the cabinet's placement based on factors like visibility, proximity to power outlets (for future additions like lighting), and ease of access.
3. Style and Aesthetic: Choose a design that complements your existing décor, considering wood species, stain color, hardware, and overall aesthetic preferences.
B. Material Selection:
1. Wood Type: Opt for hardwoods like oak, cherry, walnut, or maple, known for their durability, resistance to warping, and aesthetic appeal. Softwoods like pine can be utilized, but may require additional support and finishing considerations.
2. Plywood or Solid Wood: Plywood offers affordability and stability, while solid wood provides a more traditional feel. Consider the weight, strength, and finishing needs for your specific design.
3. Hardware and Accessories: Select quality hinges, locks, and drawer slides for longevity and security. Consider adding features like adjustable shelves, dividers, and internal lighting for enhanced functionality.
C. Design and Sketching:
1. Preliminary Sketches: Create rough sketches illustrating the cabinet's exterior and interior dimensions, including doors, shelves, and internal compartments.
2. Detailed Drawings: Utilize drafting software or hand-drawn plans to accurately depict the cabinet's construction details, including measurements, joinery types, and material specifications.
II. Construction
A. Cutting and Joinery:
1. Precision Cutting: Employ a table saw, circular saw, or jigsaw to cut lumber to precise dimensions according to your drawings. Ensure accurate measurements and straight cuts for optimal assembly.
2. Joinery Techniques: Select appropriate joinery methods like dovetail joints, mortise and tenon joints, or dado joints for strong and aesthetically pleasing connections. Consider using glue and fasteners like screws or dowels for enhanced durability.
B. Assembly:
1. Dry Fit: Before gluing, perform a dry fit of all components to ensure accurate alignment and proper fit.
2. Glue-up: Apply wood glue to designated surfaces and carefully assemble the cabinet, clamping pieces together until the glue sets. Use additional fasteners like screws or dowels as needed for added security.
C. Door and Drawer Construction:
1. Door Panels: Create panels from plywood or solid wood, using appropriate joinery methods for stability.
2. Door Frames: Construct frames around the panels, incorporating rabbets or grooves for panel insertion and a tight fit.
3. Hinges: Install hinges to the door frames and cabinet sides, ensuring proper alignment and smooth operation.
4. Drawer Boxes: Build drawer boxes using plywood or solid wood, incorporating dovetail joints or other strong joinery techniques.
5. Drawer Slides: Attach drawer slides to the cabinet sides and drawer boxes, ensuring smooth and reliable drawer movement.
III. Finishing Touches
A. Sanding and Refinishing:
1. Sanding: Smooth all surfaces using progressively finer grit sandpaper to create a consistent finish. Remove sawdust and debris thoroughly.
2. Finishing: Apply stains, paints, or varnishes according to your desired aesthetic. Consider multiple coats for depth and protection.
B. Hardware Installation:
1. Handles and Knobs: Install door and drawer handles and knobs, ensuring proper alignment and functionality.
2. Locks: Install high-quality locks on doors and drawers, selecting types that meet your security needs and preferences.
C. Interior Fittings:
1. Shelves: Install adjustable shelves and dividers to accommodate different firearms and accessories.
2. Lighting: Consider adding internal lighting using LED strips or a dedicated fixture for enhanced visibility and security.
IV. Safety Considerations
A. Security:
1. Strong Locks: Utilize robust locks and locking mechanisms to deter unauthorized access.
2. Anchor to Wall or Floor: Secure the cabinet to the wall or floor using heavy-duty anchors and bolts to prevent theft.
B. Fire Safety:
1. Fire-Resistant Materials: Consider using fire-resistant wood finishes or fire-retardant materials within the cabinet to minimize fire hazards.
2. Smoke Detectors: Install smoke detectors near the cabinet to provide early warning in case of a fire.
C. General Safety:
1. Storage Best Practices: Store firearms unloaded, with ammunition separately and securely stored.
2. Childproofing: Install safety devices or measures to prevent children from accessing firearms within the cabinet.
V. Conclusion
Building a custom-fit wooden gun cabinet is a rewarding project that combines skill, dedication, and attention to detail. By carefully planning, executing, and incorporating safety considerations, you can create a secure and personalized storage solution that meets your specific needs and elevates your home décor. This bespoke piece of furniture not only protects your valuable firearms but also reflects your commitment to craftsmanship and security.


