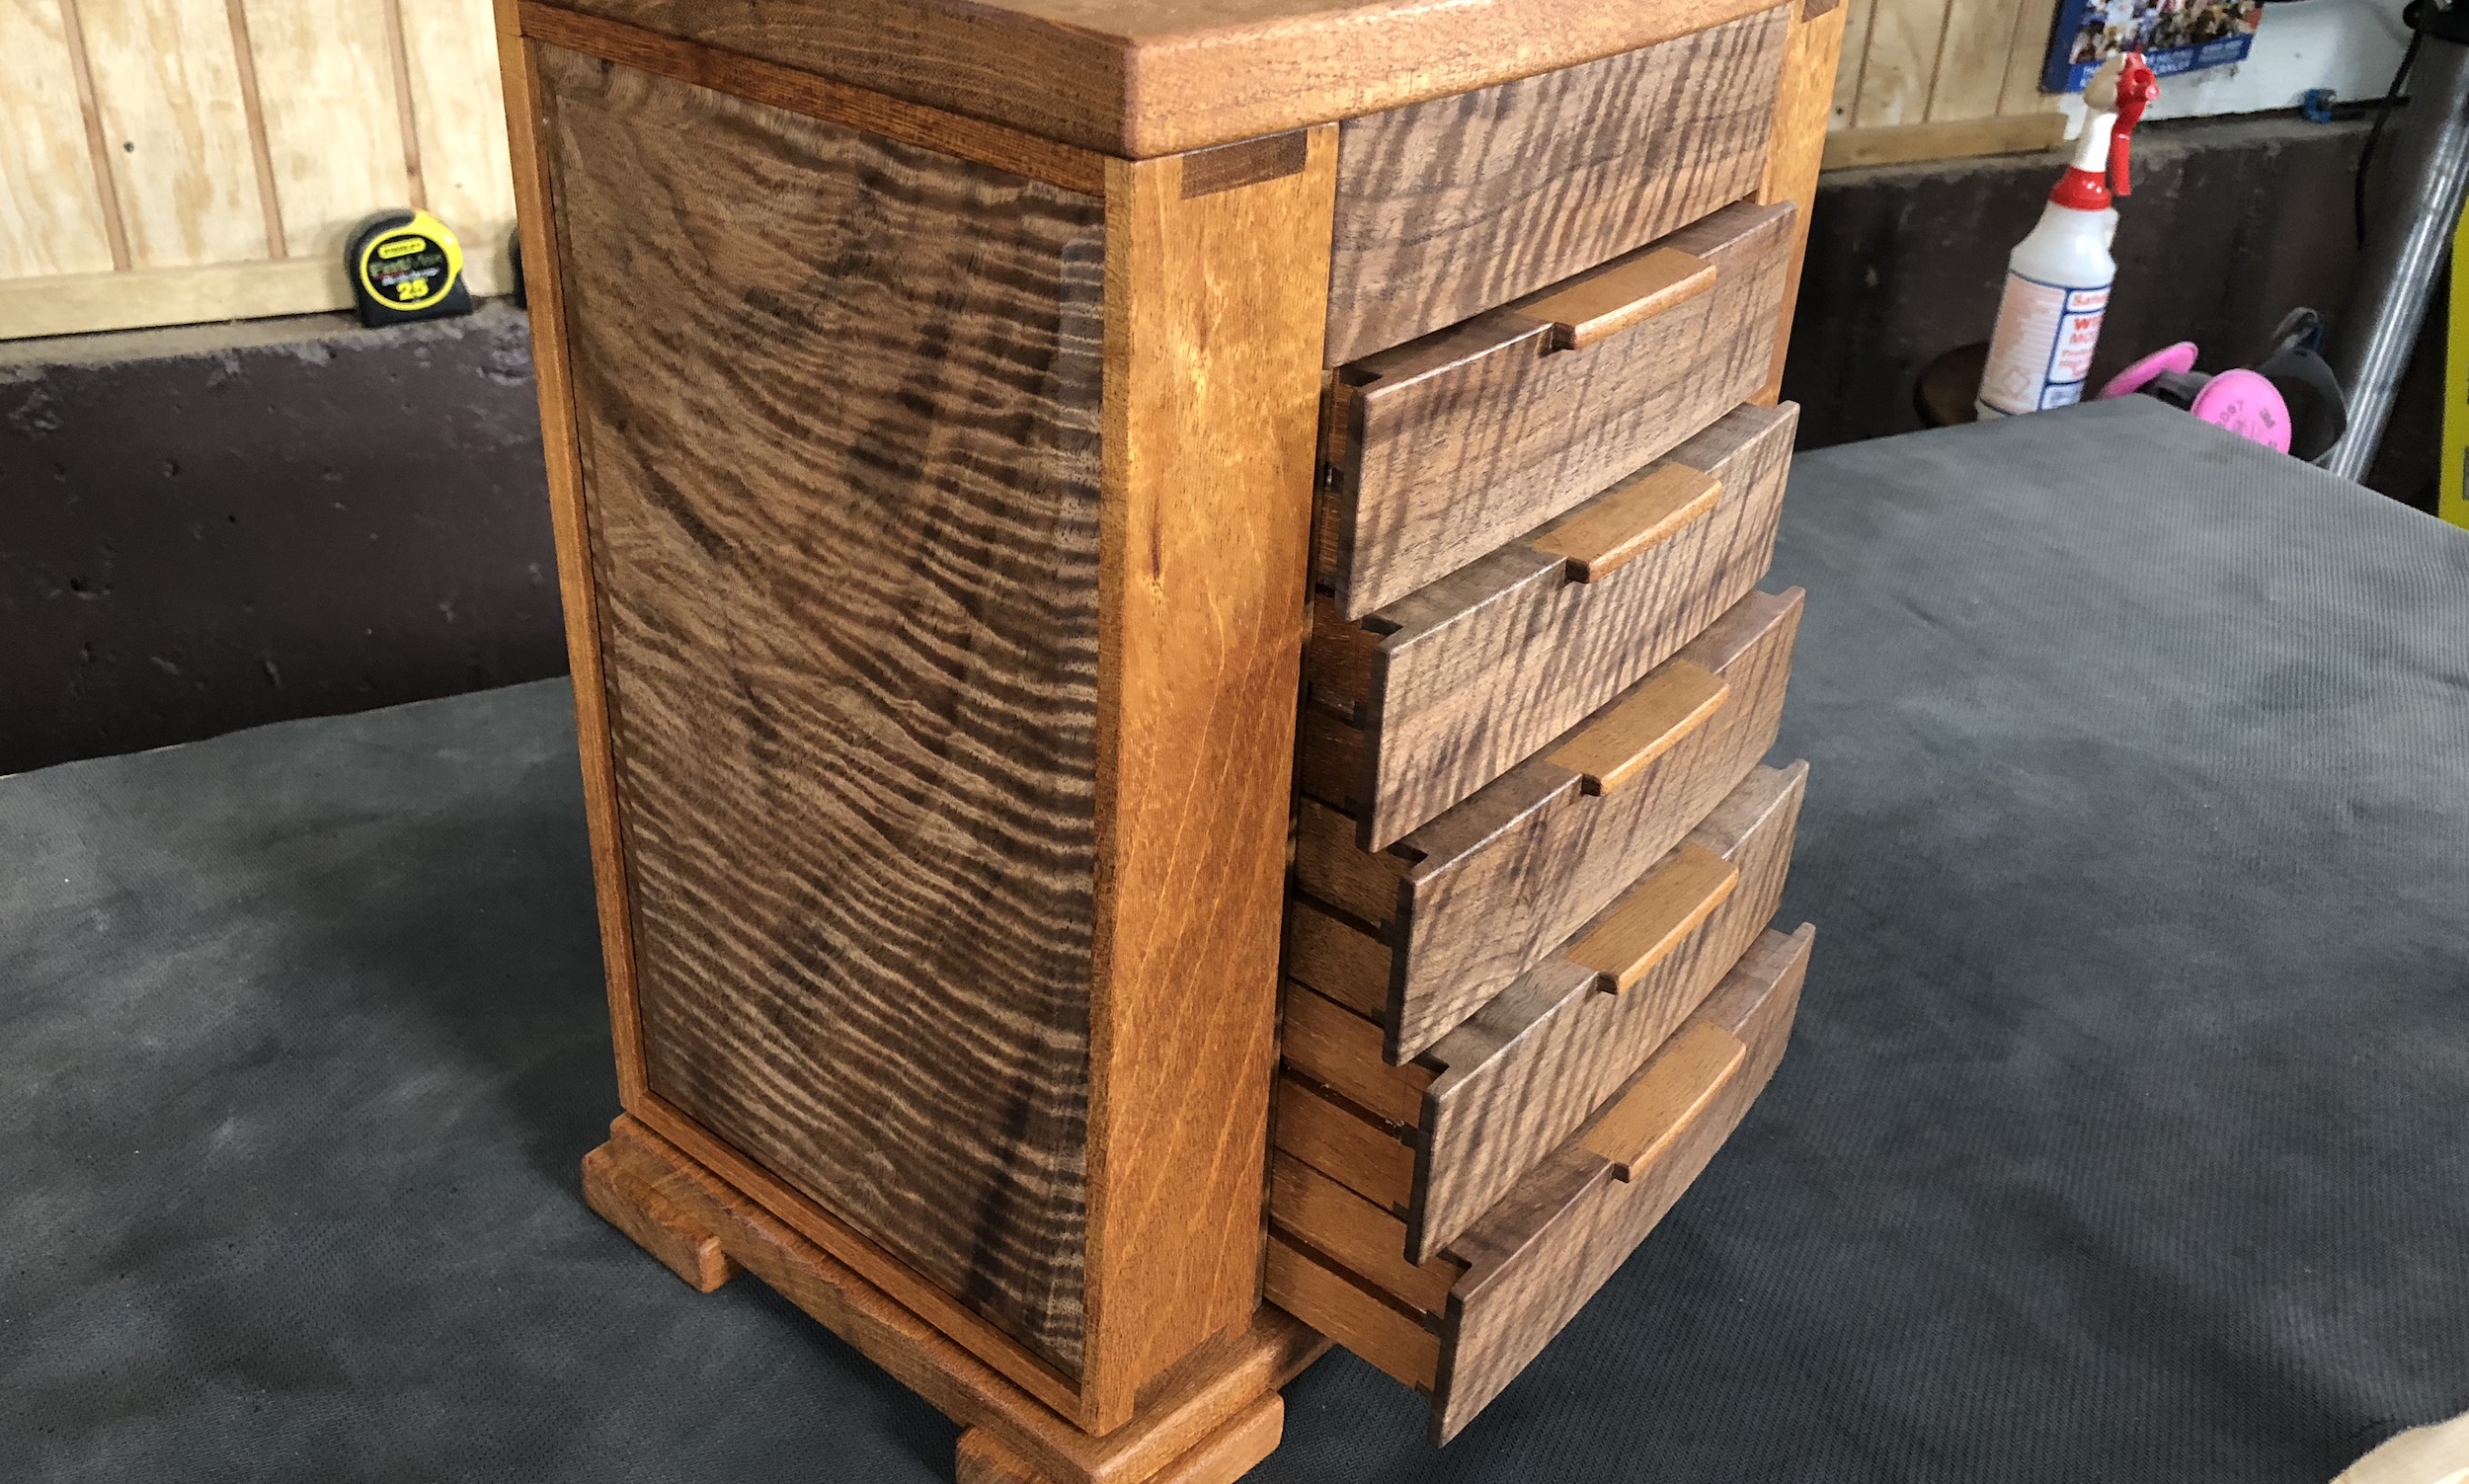
Building a Magical Wooden Box: A Woodworking Tutorial
Prepare to be enchanted! This woodworking project guides you step-by-step to craft a beautiful and functional wooden box. Perfect for storing treasures, secrets, or even magical trinkets, this box will be a unique addition to your home or a special gift. We'll guide you through every stage, from choosing your wood to applying the finishing touches. Grab your tools, let's get started!
Materials You'll Need
Before we begin, gather all your materials to ensure a smooth woodworking experience:
- Wood: Choose a sturdy wood like oak, maple, or cherry. Consider the look and feel you want for your box. For a more rustic style, use reclaimed wood.
- Wood Glue: A high-quality wood glue is essential for strong joints.
- Screws: Use screws that are appropriate for the thickness of your wood.
- Hinges: Select decorative hinges that complement your box's style. These will add visual appeal and ensure the box opens and closes smoothly.
- Latch or Lock: Choose a latch or lock that suits your box's purpose and aesthetic. A simple latch or a decorative lock can add a touch of intrigue.
- Sandpaper: You'll need different grit sandpaper for smoothing and finishing your box. Start with a coarse grit, gradually moving to finer grits.
- Wood Stain or Paint: Optional, but consider adding a stain or paint for a personalized touch.
- Finishing Oil or Wax: To protect and enhance the beauty of your wood, use a finishing oil or wax.
- Measuring Tape, Pencil, Ruler, and Cutting Guide: For accurate measurements and marking.
- Safety Glasses and Dust Mask: Protect your eyes and lungs while working with wood.
Step 1: Design and Planning
Before you grab your saw, take some time to design your box. This step is crucial to ensure you create something you'll love.
- Dimensions: Determine the desired length, width, and height of your box. This will affect the amount of wood you need.
- Style: Choose a style that resonates with you. You can opt for a simple rectangular box or add intricate details like moldings or decorative inlays.
- Lid: Decide whether you want a hinged lid or a removable top. This will influence the construction process.
- Hardware: Consider what type of hinges, latch, or lock you want. Look for ones that align with your design aesthetic.
- Sketch: Draw a rough sketch of your box to visualize the final product.
Step 2: Cutting the Wood
Now comes the fun part! With your design in mind, you're ready to start cutting your wood. Take your time, measure twice, and cut once!
- Cut the Base and Sides: Use a saw or table saw to accurately cut the pieces for the base and sides of your box. Remember to account for the thickness of the wood when determining the dimensions.
- Cut the Lid: If you're creating a hinged lid, cut the lid piece slightly larger than the base to allow for proper fitting.
Step 3: Assembling the Box
With all your pieces cut, you're ready to assemble the box. Focus on creating strong and precise joints.
- Join the Sides to the Base: Use wood glue and screws to attach the sides to the base of the box. Clamp the pieces together and ensure they are flush and square.
- Attach the Lid: If you are using a hinged lid, attach the hinges to the lid and the box using screws. Ensure the hinges are aligned and allow the lid to open and close smoothly.
- Install the Latch or Lock: Follow the manufacturer's instructions for attaching the latch or lock. This step will secure your precious contents.
Step 4: Sanding and Finishing
Once your box is assembled, it's time to refine its look and feel.
- Sanding: Use sandpaper to smooth the box's surfaces, edges, and corners. Start with a coarse grit, gradually moving to finer grits to achieve a polished finish.
- Finishing: Apply a stain or paint if desired, following the manufacturer's instructions. Allow the finish to dry completely before moving on.
- Apply Finishing Oil or Wax: To protect the wood and enhance its natural beauty, apply a finishing oil or wax. Rub the oil or wax evenly into the wood and let it dry completely.
Step 5: Adding Your Personal Touch
Now for the magical touch! This is where you can truly make your box unique.
- Inlay or Carving: Consider adding decorative inlays or carvings to elevate the box's aesthetic.
- Hardware: Use decorative hinges, latches, or locks to add visual interest and enhance the box's character. This is your chance to add a touch of magic!
- Interior Lining: Line the inside of the box with fabric, velvet, or a decorative paper to add a touch of luxury and create a special environment for your treasures.
And there you have it! Your beautifully crafted magic box is ready to be filled with secrets, treasures, or a touch of enchantment. Enjoy your new woodworking masterpiece and the joy it brings to your home.


